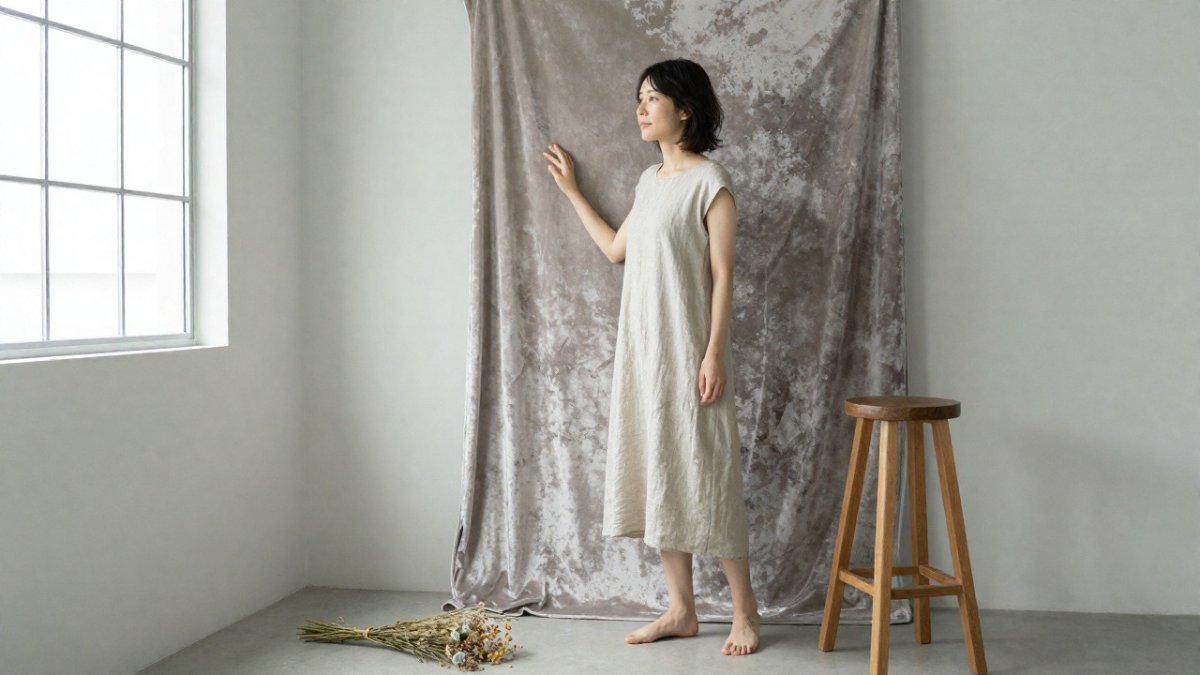
 How-to
Posing Tips for Non Professional Models: A Calm, Guided Approach
Last Updated: November 16, 2026
Quick Summary
These posing tips for non professional models start with your feet: shift your weight onto one leg and turn your body to a slight angle instead of facing the camera square. Then give your hands a job, like resting one on your hip or holding a prop, and bend the wrist slightly so your fingers don't splay flat.
- Turn your body about 45 degrees from the camera and bring your lead foot forward.
- Perch on the edge of a chair and lean slightly forward for seated poses.
- At home, place your phone 6 to 8 feet away and use the 2x zoom.
- Shoot in bursts of five with a 10-second timer and review one thing per round.
- Ask before every physical adjustment, and demonstrate on yourself if the answer is no.
Table of Contents
- Why Non Professional Models Freeze (and How to Loosen Up)
- Posing Tips for Non Professional Models Beginners Can Use Right Away
- Standing Poses for Photoshoot Female Subjects: Angles That Flatter
- Posing Tips for Non Professional Models Male Clients Often Miss
- Posing Tips for Non Professional Models at Home: Self-Directed Sessions
- Direction, Consent, and Adapting Poses to Every Body
- Troubleshooting Stiff, Awkward, or Unflattering Frames
- Book a Session Where Direction Comes Standard
- Frequently Asked Questions
Why Non Professional Models Freeze (and How to Loosen Up)
Most people freeze in front of a camera because they think posing is a performance. It isn't. Posing is a conversation with your body, and anyone can learn it. This guide covers posing tips for non professional models who have never stood under a studio light and are quietly worried they'll look stiff the whole time.
That fear is normal. It's also easy to fix.
The trick is to stop chasing one perfect pose. Instead, give your body small, clear jobs: shift your weight, move a hand, turn your chin an inch. Little instructions beat big ambitions. Below, we'll show you exactly how to do that, from your feet to your gaze, so the camera catches a person instead of a mannequin.
Posing Tips for Non Professional Models Beginners Can Use Right Away
Beginners don't need a catalog of poses. They need three or four moves they can repeat until the nerves settle. Start with your feet, then your hands, then your face. That order works because each step gives the next one something to do.
Start With Your Feet and Weight Shift
Stand with your weight on one leg. That's it. A weight shift instantly creates a body angle and stops you from looking like a soldier at attention.
- Put your lead foot slightly forward and turn it out a little.
- Let the back knee soften, never lock it.
- Lean your weight into the back hip for a relaxed shape.
A common mistake is standing square to the lens. Square reads as flat. A slight angle reads as alive.
What to Do With Your Hands, Arms, and Wrists
Loose hands ruin more frames than bad lighting. Give them a job and they relax.
- Rest one hand on your hip, thumb forward.
- Let the other arm hang with a soft bend at the elbow.
- Bend the wrist slightly so fingers don't splay flat.
- Hold a prop like a jacket or a scarf if you feel lost.
A tiny bend at the wrist changes the whole line of the arm.
Standing Poses for Photoshoot Female Subjects: Angles That Flatter
Standing poses for photoshoot female subjects come down to three shapes: the slight angle, the profile, and the seated lean. Each one flatters differently, so try all three and keep what feels natural. You can see how these angles look in real client work in our galleries before your own session.
The Slight Angle and the Lead Foot
Turn your body about 45 degrees from the camera, then bring your lead foot forward. This narrows your silhouette and creates body lines that curve instead of flatten. Add a small exaggeration: push the hip out a touch more than feels normal. On camera, it reads as graceful, not dramatic.
Profile, Side View, and Seated Variations
A profile pose or side view shows the jawline and posture. For a seated pose, perch on the edge of the chair and lean slightly forward. Never sink back. Leaning forward lengthens the torso and keeps you from looking collapsed.
Posing Tips for Non Professional Models Male Clients Often Miss
Men tend to stand too rigid and square, hands clamped at their sides. The fix is the same weight shift, plus one extra rule: give the shoulders something to do. Angle one shoulder toward the camera and drop the other slightly. Keep a small gap between your arms and your torso so the body language doesn't merge into one block. A hand in a pocket, thumb out, works well for a headshot or a relaxed portrait. Chin level, not lifted.
Posing Tips for Non Professional Models at Home: Self-Directed Sessions
Posing tips for non professional models at home start with a phone, a window, and a timer, but the difference between a frustrating ten minutes and a useful practice session is in the setup. Treat your phone like a camera, not a mirror: prop it at chest height or slightly above, turn on the grid, and use the rear camera rather than the selfie lens.
Set Up the Frame Before You Pose
- Camera height: chest to eye level for standing poses; lower it slightly for seated poses so the lens doesn't look down on you.
- Distance: place the phone 6 to 8 feet away and use the 2x zoom rather than stepping closer. Standing too close to a wide lens exaggerates whatever is nearest the camera, usually a hand or a shoulder.
- Light: a window at a 45-degree angle to your face gives soft directional light. Avoid standing directly in front of the window; the flat frontal light hides the body lines you're trying to practice.
- Background: clear the frame behind you so you can judge your silhouette without visual clutter.
Run a Repeatable Self-Review Loop
Set a 10-second timer and shoot in bursts of five. After each burst, review only one thing: feet, hands, or chin. Change one variable, shoot again.
- Round 1: weight shift and lead foot.
- Round 2: add a hand job (hip, pocket, or prop).
- Round 3: adjust chin and gaze.
- Round 4: add movement, walk toward the lens, turn, or laugh on the timer.
Watch out: reviewing every frame at full size turns practice into self-criticism. Scan thumbnails first, pick one frame per round, and note a single fix.
Use Movement and Video to Diagnose Stiffness
An action pose hides stiffness better than any static hold. Record a 20-second video instead of stills: walk toward the phone, turn your shoulder, settle into a pose, and hold for three seconds. Play it back at half speed.
Adapt the Setup When You Have No Tripod
Stack books to raise the phone, lean it against a wall, or use a mug as a stand. If you're shooting a seated pose, put the phone on a chair back at seat height. The goal is a stable frame at the right height, not gear.
Direction, Consent, and Adapting Poses to Every Body
Good pose direction is a partnership, not a script. That makes consent and adaptation practical tools rather than formalities.
Ask Before You Adjust
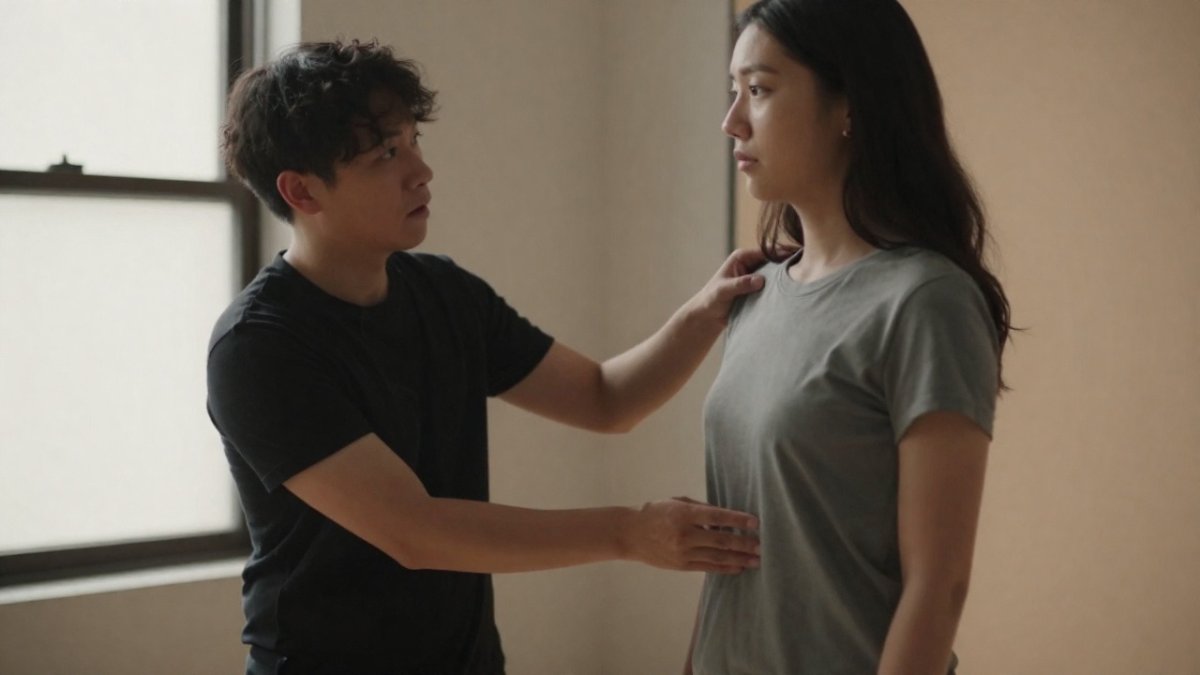
Use a simple script at the start of the session: "I may suggest small adjustments. I'll ask before I touch you, and you can decline any of them." Then ask every time: "May I move your hand?" If the answer is no, demonstrate the adjustment on yourself or describe it in one sentence.
- Verbal direction first: describe the change ("soften the back knee") before offering a physical adjustment.
- Offer alternatives: "Would you rather I show you, or guide your shoulder?"
- Check in mid-session: "Anything feeling tense or uncomfortable?" gives permission to speak up.
Adapt Poses to Mobility and Sensory Needs
Poses adapt to body type and mobility, and the adaptation is usually smaller than people expect. Ask before the session about mobility aids, pain, balance, or sensory sensitivities such as bright light or tight clothing. Then modify the pose rather than the goal.
- Standing poses: offer a seated or supported variation against a wall or stool for balance or fatigue.
- Seated poses: a chair with a back allows a forward perch; a stool allows a freer torso twist.
- Hands: if holding a prop is uncomfortable, use a pocket, a waistband, or a soft wrist bend instead.
- Lighting: for light sensitivity, turn the subject away from the main light and use a reflector or window light rather than direct flash.
Watch out: assuming a limitation without asking can be as alienating as ignoring one. Ask open questions and let the subject define what they need.
Tailor to Body Type Without Changing the Goal
The pose's job is to create body lines that curve rather than flatten. For a rounder frame, a slight angle and a lead foot still narrow the silhouette; add a small gap between the arm and torso to define the waist. For a taller frame, a seated lean or a profile pose shortens the visual line and adds shape. For a shorter frame, a low camera angle and a forward lean lengthen the torso. The pose changes; the principle doesn't.
When you know who's guiding you and how they work, the nerves quiet down. You can read more about our approach on our about page.
Troubleshooting Stiff, Awkward, or Unflattering Frames
Stiff frames usually share one cause: too much stillness. If a shot looks awkward, change one thing and reshoot.
| Problem | Likely Cause | Quick Fix |
|---|---|---|
| Looks stiff | Body held still | Add movement or an action pose |
| Flat silhouette | Facing camera square | Turn to a slight angle |
| Hands look tense | Fingers splayed | Bend the wrist, relax fingers |
| Double chin | Chin lifted or tucked | Push chin slightly forward |
| Collapsed posture | Sinking into a seat | Perch and lean forward |
Watch out: don't fix a stiff frame by freezing harder. Stiffness comes from tension, and tension grows when you try to hold still. Move instead.
Book a Session Where Direction Comes Standard
Posing tips help, but guided direction changes everything. If you want to be walked through every angle, book a portrait session with fenix creative, or explore our spicy portrait work if you're drawn to something more intimate. Have questions first? Reach out through our contact page. We build each session around film-like tonal richness, sculptural lighting drawn from classical oil painting, and a supportive environment where you feel seen, not posed. Get started with fenix creative and walk in nervous, walk out photographed as yourself.
Frequently Asked Questions
How can I look more natural in photos if I'm not a model?
Movement is the fastest fix. Instead of holding a pose and waiting, shift your weight from one foot to the other, adjust a jacket, or turn your head slowly while the photographer shoots multiple frames. Small actions keep your body from locking up. Pair that with a slight body angle rather than facing the lens square-on, and let your hands rest on something real, like a hip, a chair back, or a pocket. Most stiffness comes from trying to hold still, so give yourself permission to keep moving.
What should I do with my hands during a photoshoot?
Give your hands a job. Rest one on your hip with the wrist slightly bent, tuck a thumb into a pocket, hold a jacket lapel, or let fingers loosely graze fabric. Avoid flat, pressed-down palms and stiff, splayed fingers, which read as tense. Slight bends at the wrist and elbow create softer body lines. If you feel lost, ask your photographer for a hands prompt, since good pose direction includes specific placement rather than a vague instruction to relax.
Can I practice posing tips for non professional models at home before a session?
Yes, and it helps. Set your phone on a timer or use the front camera, then practice a few standing poses with a slight angle and weight shift. Watch where your chin sits and how your hands fall. You are not aiming for perfect poses, just familiarity with how your body looks when it turns and moves. Bring two or three positions you liked to the session.
I'm nervous about feeling exposed. How does consent work during a portrait session?
Clear direction and consent go together. You are never obligated to do anything you are uncomfortable with, and asking to adjust a pose or keep clothing in place is normal. Say what your boundaries are at the start. That conversation protects your comfort level and usually produces better, more relaxed frames.
